In the hustle and bustle of modern life, time is a precious commodity, often leaving little room for elaborate grooming routines. Whether you’re rushing to work, dashing to a meeting, or simply navigating a jam-packed schedule, finding the time for intricate hairstyles can seem like an impossible feat. However, maintaining a polished appearance doesn’t have to be sacrificed on the altar of time constraints.
Ponytail Perfection
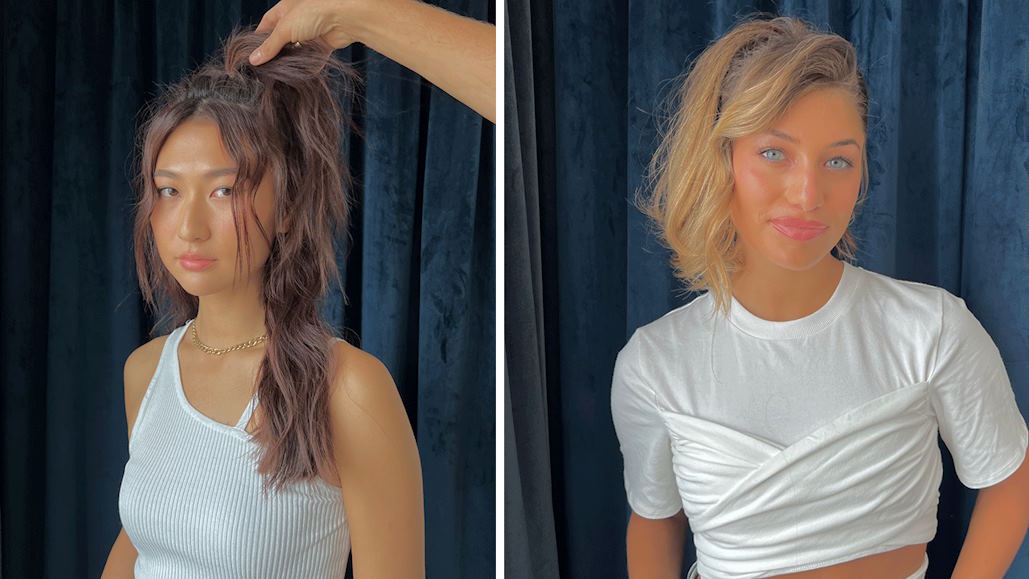
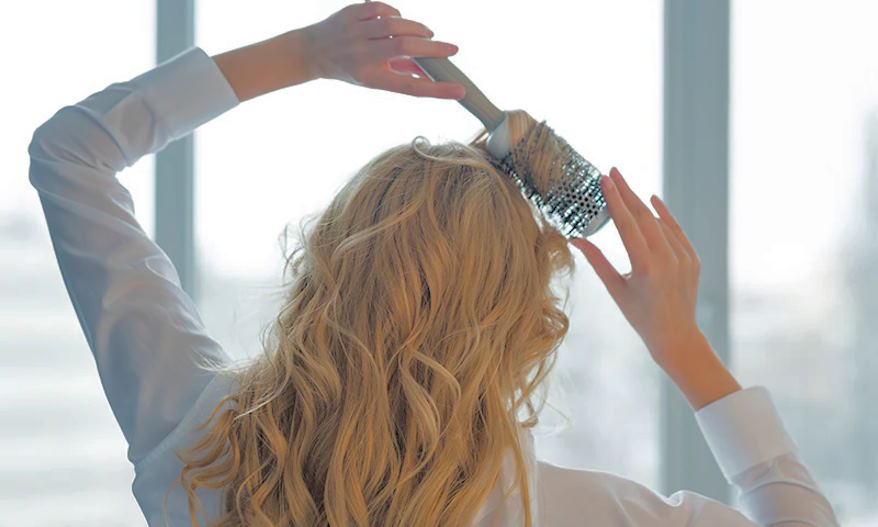
In the realm of quick and easy hairstyles, few options rival the timeless appeal of the ponytail. Whether you prefer a sleek and sophisticated look or a carefree tousled style, the ponytail offers versatility and simplicity rolled into one. To achieve the classic ponytail, start by brushing your hair to remove any tangles and gather it into a high, mid, or low position depending on your preference. Secure the ponytail with an elastic band, making sure to smooth out any bumps or flyaways for a polished finish. For added flair, consider experimenting with variations such as the high ponytail for a youthful vibe, the low ponytail for a touch of elegance, or the side ponytail for a playful twist.
For those days when you crave a laid-back yet stylish look, the messy bun reigns supreme. To create this effortlessly chic hairstyle, start by pulling your hair back into a ponytail and securing it with an elastic band. Next, twist the ponytail loosely and wrap it around the base to form a bun, securing it in place with bobby pins. For a tousled effect, gently pull on sections of the bun to loosen and volumize the hair, allowing strands to cascade freely for a relaxed and carefree vibe.
Effortless Braids
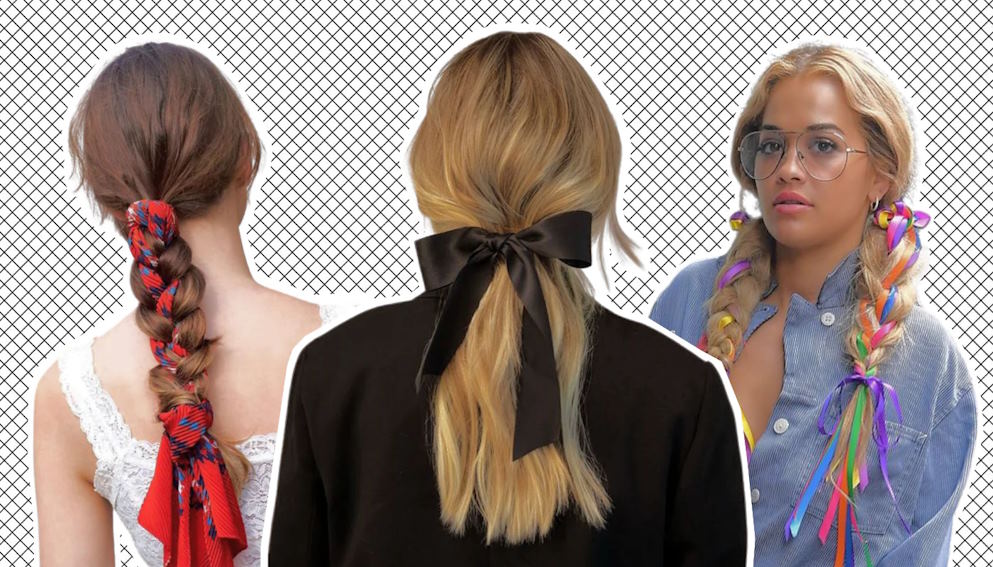
Braided hairstyles are a go-to option for on-the-go individuals seeking a quick and easy way to elevate their look. One of the simplest braided styles to master is the side braid, which adds a touch of whimsy and charm to any ensemble. To create a side braid, start by brushing your hair to remove any knots and gather it to one side of your head. Divide the hair into three equal sections and begin braiding by crossing the right section over the middle, then the left section over the middle, repeating until you reach the ends. Secure the braid with an elastic band and gently tug on sections to loosen and soften the look for a more relaxed feel.
For those seeking a more intricate braided style, the French braid offers a sophisticated yet achievable option. While it may seem daunting at first, mastering the art of the French braid is well worth the effort for its timeless elegance. To create a French braid, start by brushing your hair to remove any knots and divide it into three equal sections at the crown of your head. Begin braiding by crossing the right section over the middle, then the left section over the middle, incorporating small sections of hair from the sides with each subsequent crossover. Continue braiding in this manner, gradually working your way down the length of your hair, until you reach the nape of your neck. Secure the braid with an elastic band and gently pull on sections to loosen and soften the look for a more effortless finish.
Quick Twists and Turns
When time is of the essence, quick twists and turns offer a stylish solution for on-the-go individuals looking to elevate their look with minimal effort. One of the simplest twisting techniques to master is the twist and pin, which can be customized to suit a variety of hair lengths and textures. To create this versatile hairstyle, start by gathering a small section of hair from one side of your head and twisting it away from your face. Once you reach the ends, secure the twist in place with bobby pins, crossing them in an X formation for added hold. Repeat the process on the opposite side of your head, twisting the hair away from your face and securing it in place with bobby pins. For a more polished finish, consider adding decorative clips or accessories to accentuate the twists and add a touch of flair.
For those seeking a more intricate twist hairstyle, the rope braid offers a chic and sophisticated option that can be achieved in a matter of minutes. To create a rope braid, start by dividing your hair into two equal sections and twisting each section in a clockwise direction. Once both sections are twisted, cross them over each other in an anticlockwise direction to create a rope-like effect. Continue twisting and crossing the sections until you reach the ends, then secure the braid in place with an elastic band. For added dimension and texture, gently pull on sections of the braid to loosen and volumize the hair, allowing strands to cascade freely for a soft and romantic finish.
Recommended To You